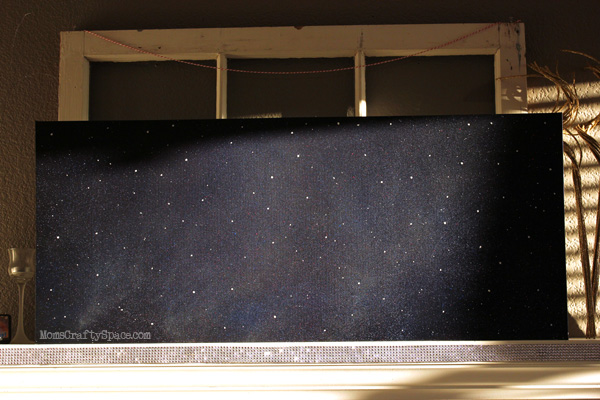
I started by giving my canvas a coat of spray primer since these aren’t ordinary canvas. They’re made to be hung outdoors, so the “canvas” part is actually a textured vinyl. I used a plastic primer, and then spray painted the entire canvas flat black.
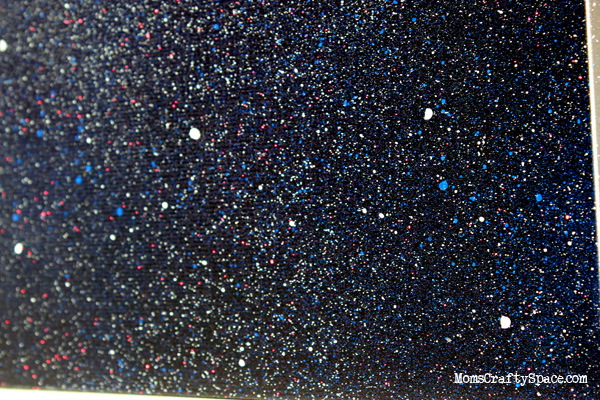
After the black paint dried I took the canvas outdoors on a windy afternoon and sprayed it from about 10 feet away with purple, blue, neon pink and white paint to give it the effect of a galaxy. I varied the pressure that I put on the nozzle so that I ended up with some splatters that look like larger stars.
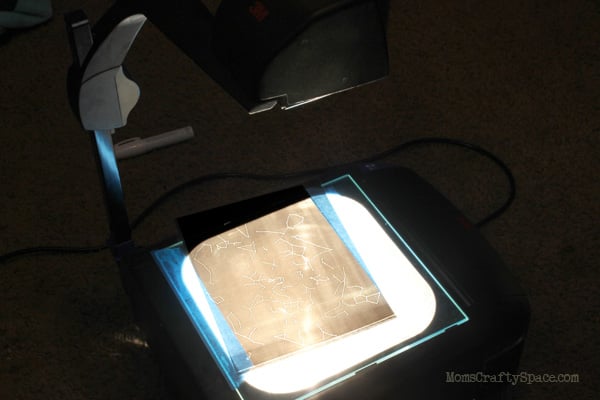
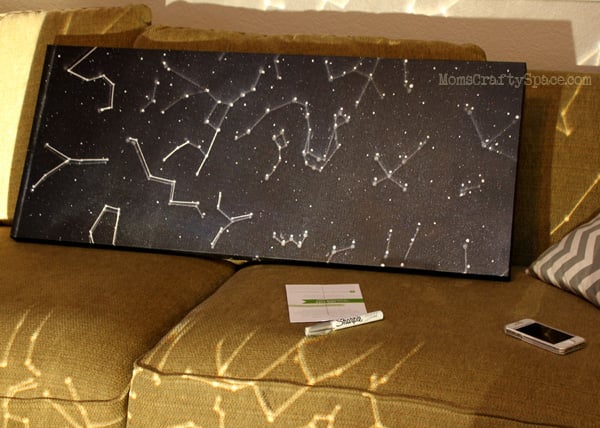
I printed out a black & white transparency of the Northern Hemisphere constellations and projected it on to my canvas. I fiddled around with the placement until I liked the way it looked, but I didn’t pay much attention to the direction that anything is facing – just what I thought looked best.
I started by drawing all of the dots/stars first, and then I went back in and connected them with a metallic silver Sharpie paint marker.
Count your constellation stars and determine which ones you want to make glow – the strand of lights only has 100 bulbs, so you may need to omit a few. I chose not to light up anything that came too close to the edges of my canvas.
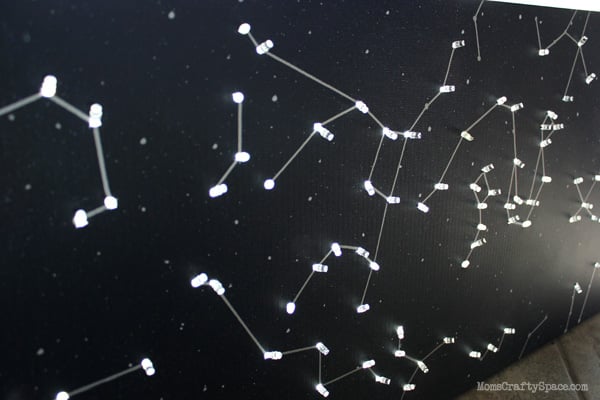
Use an Xacto knife to cut a small “x” in each of the constellation stars that you want to light up. Push through the tip of a fairy light from the back of the canvas. When I was finished, I taped the back of the canvas to hold the lights in place.
I love how much the little lights remind me of Lite Brite pegs!
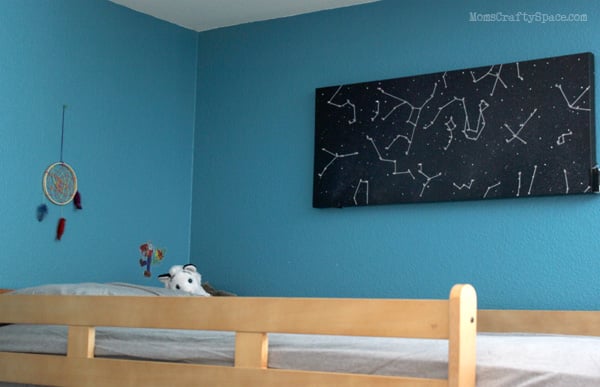
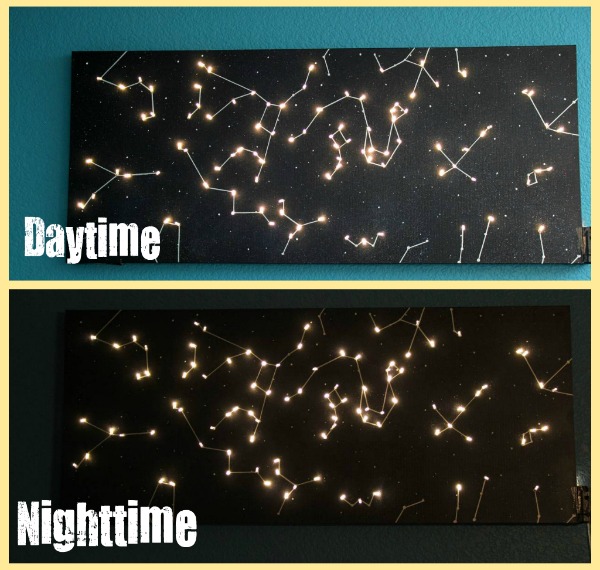
Ready to decorate Sawyer’s top bunk…in the daytime…
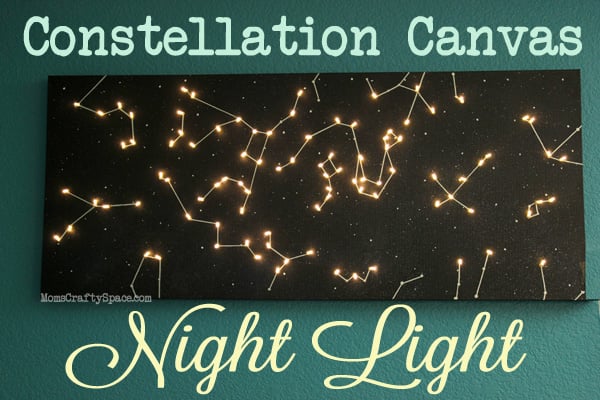
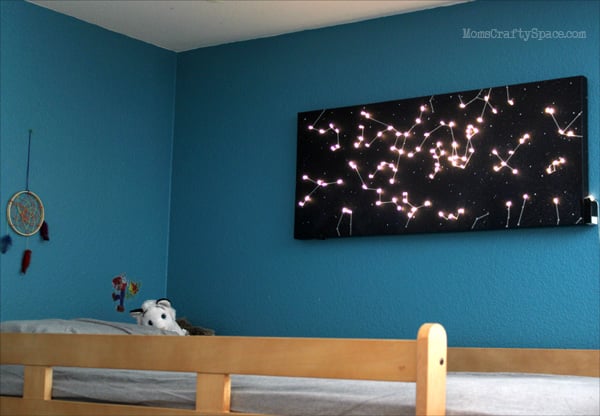
…and all lit up!
I’m pretty sure that I could fall asleep to this soft twinkle every night! The fairy lights actually have 8 different settings, so you can set them to fade, twinkle, blink and something that flashes so quickly it might be seizure-inducing. We put ours on both a dimmer and a timer so that they’re not too bright, and they come on automatically at bedtime.
Not bad for less than $10!



0 Σχόλια